Saturday, April 4, 2015

Easter Cake | Yellow Cake Recipe

Living in a Catholic country, Holy Week is keenly observed. Palm Sunday, Visita Iglesia, Station of the Cross, lighting candles for parades (statues of saints parading in our town), and many more are practiced. The most joyful part, however, is the resurrection of Christ, which is celebrated through Easter.


The way I see it through the internet and foreign TV shows (such reliable sources, eh?), Easter Sunday is celebrated in other countries through Easter egg hunting and is represented by the Easter bunny. While there are some private subdivisions and malls who hold that activity, it's not that famous in my country. I didn't even know what the Easter bunny was until I was around 12! What my family does is to go to mass, then hold our annual family reunion.


Now that I know how to bake, our reunion is sweeter. Our celebration is just fine the way it is, but I get a lil' bit envy with all the pastel colors and treats in other countries on the same occasion. So here, I decided to make a simple yellow cake with lots of pastel colors in it.


Okay, the decorations on the top was supposed to be pastel colored, too. I had these star-shaped sprinkles (or jimmies, as others say it), but I spared it because I plan to use it on other things (needless to say that I felt like I made the wrong decision of sparing those because I could have just bought a new bag on my next cake/cupcake idea). Either way, I feel like it still turned out pretty because of all the lively colors! The yellow cake was a perfect neutralizer for all those colors. And admit it - we all need a basic cake recipe for those time when we want to concentrate on the cake's design. ;) The pastel polka dots is inspired by iambaker's obsession with polka dots. ;)

Ingredients
1/2 cup oil
4 egg yolks
3/4 cup water
1 1/2 tsp vanilla
2 cups flour
1 1/2 cups sugar
2 1/2 tsp baking powder
1 tsp salt
4 egg whites
1/2 tsp cream of tartar

Instructions

  1. Preheat oven to 175C.
  2. Mix together oil, egg yolks, water, and vanilla in a large mixing bowl. Set aside.
  3. Sift together flour, sugar, baking powder, and salt. Add slowly into wet ingredients, and beat until smooth batter forms.
  4. In a small mixing bowl, beat egg whites and cream of tartar using an electric mixer. Beat until egg whites are stiff. (You can still achieve this even without a mixer; just be patient with beating the egg whites). Fold the stiff egg whites into the batter.  
  5. Pour the cake batter into a cake pan. Bake for 30 minutes. Cool the cake layers before frosting. 
Makes 2 layers of 8" cake.

Recipe adapted from WikiHow.


To achieve the pastel polka-dots, I took two spoonfuls of plain buttercream, placed it on a separate bowl, and added 1 small drop of food coloring. Remember to add one drop at a time and to stir it before adding another drop because we are making pastel colored frosting here. If you made the mistake of adding too much color, add more plain buttercream to lighten it. The colors I chose were pink (but I used a red food coloring), blue, and green. Put it in separate piping bags (or make sure to clean it before adding a new colored frosting), and cut a very small hole on the tip to achieve small dots. To make the dots a little bit bigger, add a little bit more pressure on the bag.

Now that you have a recipe for a simple and easy yellow cake, start getting creative on your cake designs! ;)

Sunday, March 29, 2015

Red Velvet Cake Recipe

I am not yet over with Valentines Red Velvet. And for some reason, my family and friends aren't over it, too!

Next to Chocolate or Devil's Food Cake, the most loved cake in the house is Red Velvet Cake. After lots of attempt in achieving a perfect red tint and moist red velvet cupcakes, I was hesitant at first to try a cake version. But I started to crave for Red Velvet cake whenever I look at it on bake shop displays! I know I could make one for myself, so I made an attempt.


And it was absolutely worth it.


To make red velvet cake, you don't simply put red food coloring on a white cake. No. There must be that slight chocolate aftertaste to it, there must be a slight sourness contradicting blending with the sweet ingredients, and the texture of the crumbs must reflect that of velvet. Hence, the name Red "Velvet". 


Ingredients
2 1/2 cups flour
1/2 tsp salt
2 tbsp cocoa powder
1/2 cup butter (softened)
1 1/2 cups sugar
2 pcs. eggs
1 tsp vanilla
1 cup buttermilk
2 tbsp (one 20mL bottle) red food coloring
1 tsp vinegar
1 tsp baking soda

Instructions

  1. Preheat oven to 175C.
  2. Sift together flour, salt, and cocoa
  3. In a separate bowl, beat butter until creamy. Add the sugar and make sure to mix it until it is light and fluffy. Then, add eggs one at a time. Add vanilla.
  4. In a small bowl, whisk buttermilk with red food coloring.
  5. Alternately add flour and buttermilk mixture to butter mixture.
  6. In a small cup, combine vinegar and baking soda. Allow to fizz before folding into batter.
  7. Bake for 25-30 minutes. 
Makes 2 layers of 9" cake.

Recipe from Joy of Baking.


Although you can frost this cake with any type of frosting, I still recommend Cream Cheese frosting. It's not a complete red velvet cake without the cream cheese!

Friday, March 13, 2015

Devil's Food Cake | Boiled Icing Recipe

Back in early High School, my dad would regularly bring home a slice of Devil's Food Cake. We'll open that styro lunch pack and eat the slice together while sharing some random stories.  Sometimes when we go grocery shopping on Sundays, we'll pass through a kiosk selling cakes, and we'll buy a slice of - you guessed it - Devil's Food Cake. For some reason, he's in love with this cake. It came to the point where I asked "dad, why devil's food cake? Why not angel's food cake? The icing is white anyway"*.


With all these good memories with Devil's Food Cake, I decided it's the perfect cake for my dad's birthday. But not just any Devil's Food Cake - I want to recreate the one he used to buy (in terms of taste; not the entire design). As I searched for a recipe, I realized that not all Devil's Food Cake is composed of chocolate cake + white icing. Some use chocolate buttercream and make it a triple chocolate cake, while some transform it into a sophisticated cake by using chocolate ganache.


But for my dad's favorite version, it is paired with white boiled icing. It's actually a light bulb moment when I realized what that icing is! You see, back then, I had no idea with baking; so, I don't know the difference between buttercream, boiled, ganache, etc. All I knew was that it's icing!

The frosting in the cake he used to buy was very light and tasted like marshmallows - not creamy like a buttercream, or rich like a ganache. At first, I thought it might be marshmallow fluff or maybe even melted marshmallows, but it wasn't that sticky. I know I pledged in this blog that I want to share recipes that can be done without electric mixers, but I purposely borrowed one just to make this cake authentic. I don't have strong arms to constantly mix for 7 minutes!

Boiled Icing or 7-Minute Frosting
Ingredients:
1 1/2 cups sugar
1/4 tsp cream of tartar
1/8 tsp salt
1/3 cup water
2 egg whites
1 1/2 tsp vanilla extract

Instructions:

  1. Add together sugar, cream of tartar, salt, water, and egg whites in a metal bowl, or the top of a double boiler. Beat with a handheld electric mixer for 1 minute. 
  2. Place bowl or pan over boiling water. Make sure that the boiling water does not touch the bottom of the top bowl or pan.
  3. Beat constantly on high speed with electric mixer for 7 minutes. 
  4. Beat in vanilla.
Frosts one 2-layers 9" cake, plus more for decorating.


Recipe adapted from Food Network.

The only problem I encountered with this frosting (or maybe the recipe) is that it hardens after a while, to the point that the frosting cracks when you pierce a candle on the cake or slice through it. Nevertheless, my dad was happy to taste this cake again after a long time!


*Oh, and just in case you're also wondering why it's called Devil's Food Cake, refer to the photo above. Notice how the chocolate cake has a red tint to it? ;)

Saturday, March 7, 2015

KitKat Cake | How To

The perfect pair? It's salt and pepper. Chocolate and strawberry. Pancakes and syrup. Cookies and cream. Kitkat and M&Ms. You and me. Wait, whaaaaat? (Don't try that pick-up line, folks).


But seriously, though. This is an amazingly pretty cake. C'mon, just the sight of KitKat is a show-stopper; but add M&Ms to it? Stunning. The best part here is that it's easy to assemble! To make things easier, you can just use cake mix and store bought frosting because the point of this cake is how you design it. With imagination, you can add your personal touch to make the design yours - like replacing M&Ms with your favorite candy. Tootsie Rolls, perhaps? (Hello, Nikki!)


This cake is famous on the 'net, and I just want to share with you my (3rd) attempt! Unconventional to the ones circulating around the net (chocolate cake and chocolate buttercream), the inside is Red Velvet Cake with Chocolate Cream Cheese frosting. It's for a 4th Birthday Party. The celebrant loved it so much, that I had to ask someone to literally restrain her from pulling KitKat and/or picking the candy in order to take a decent pic! With all those pretty colors going on, it's irresistible. And who can say no to KitKat, right?

It's as easy as 1-2-3! Here's how you can make yours, too :)

Instructions:
1. Prepare the cake. You could either make a cake from scratch, or use a boxed cake mixture. The flavor depends on your taste, but Chocolate cake is most commonly used. Be sure to prepare a frosting as well - again, either make it from scratch or buy a canned frosting. Just make sure it's creamy enough to make the KitKat stick on the cake. I've tried making a version with chocolate cake and chocolate buttercream, and another with red velvet cake and chocolate cream cheese. I prefer a chocolate frosting so it's the same color as KitKat.
2. Stick the KitKat on the cake. Start by breaking the KitKat into individual fingers. Sticking them on the cake in 2's or 4's will make you use more as it covers less surface area. If your frosting is not that creamy enough, pipe a little frosting on the back of the KitKat finger before sticking it on the cake. You may wrap a ribbon around the cake to make it stick better - or just for design!
3. Top with M&Ms or any other chocolate/candy. Some tops it with other types of chocolates like Kirkland or Ferrero. I like to decorate mine by just randomly pouring the candy on the cake; others like to be super organized and sort it by color in a circular design.


Keep in mind that you'll use a lot of KitKat and M&Ms. A lot. Seriously. That was my mistake for my first two attempts. If in case you ran out of KitKat but had no more time to run to the store, give space between the fingers so it can still cover the cake (even if it's sparse). If you're short on M&Ms and have no other candy substitute, pour the candy on the outer line and work your way in until where your candy can.

But hey, all those chocolate is worth it! I hope you'll give this a try!

Thursday, February 12, 2015

Creamy Cream Cheese Frosting Recipe

Recently, I've been into the Red Velvet hype as explained in one of my previous post. What draws me to that recent addiction is the frosting - the cream cheese frosting.


And since February is the month of love, I'd like to dedicate this post to Valentines. Now when you say Valentines, I immediately think of Red Velvet - basically anything that is red velvet flavored. Yes, that's the first thing that comes to my mind; not cupid, fancy dinner, heart decorations or any of those mainstream stuff. Don't judge me.

This is not complete without the Cream Cheese frosting. So to start off my dedication to Red Velvet desserts, I'm sharing with you this frosting that compliments every red velvet dessert! It's creamy, not too sweet, and fancy - seriously. I feel like adding cream cheese means I've put more effort on it, making it fancier. And it goes well not just with red velvet, but also with other flavors! I like to pair it with chocolate as well. My sister-in-law pairs it with carrot cakes.

Cream Cheese Frosting
Ingredients:
1/2 cup Butter
1 cup (8oz) Cream Cheese
4 cups Powdered Sugar (sifted)
1 tsp Vanilla extract

Instructions:

  1. Cream together butter and cream cheese. Add vanilla extract. Add in powdered sugar, one cup at a time. Add more if you want it to be more stiff, but be sure to taste it first since it might get too sweet. Lessen the sugar if you want it to be creamier. 

Recipe adapted from wikihow.

Now this frosting is creamy, which means it doesn't hold a shape as good as a fluffy Buttercream. I've piped the roses in the picture above using Cream Cheese frosting, but it won't last looking like that. This frosting could still be used to pipe frosting into cupcakes, but I prefer using a simple round tip as seen in my Red Velvet Cupcake recipe post. Other tips that puts design on the piped frosting just makes me disappointed with the frosting because it doesn't hold the detail as good as buttercream does. Although, it's perfect for coating a cake.

Here are some uses for the cream cheese frosting:

Red Velvet Cupcakes
Red Velvet Cake
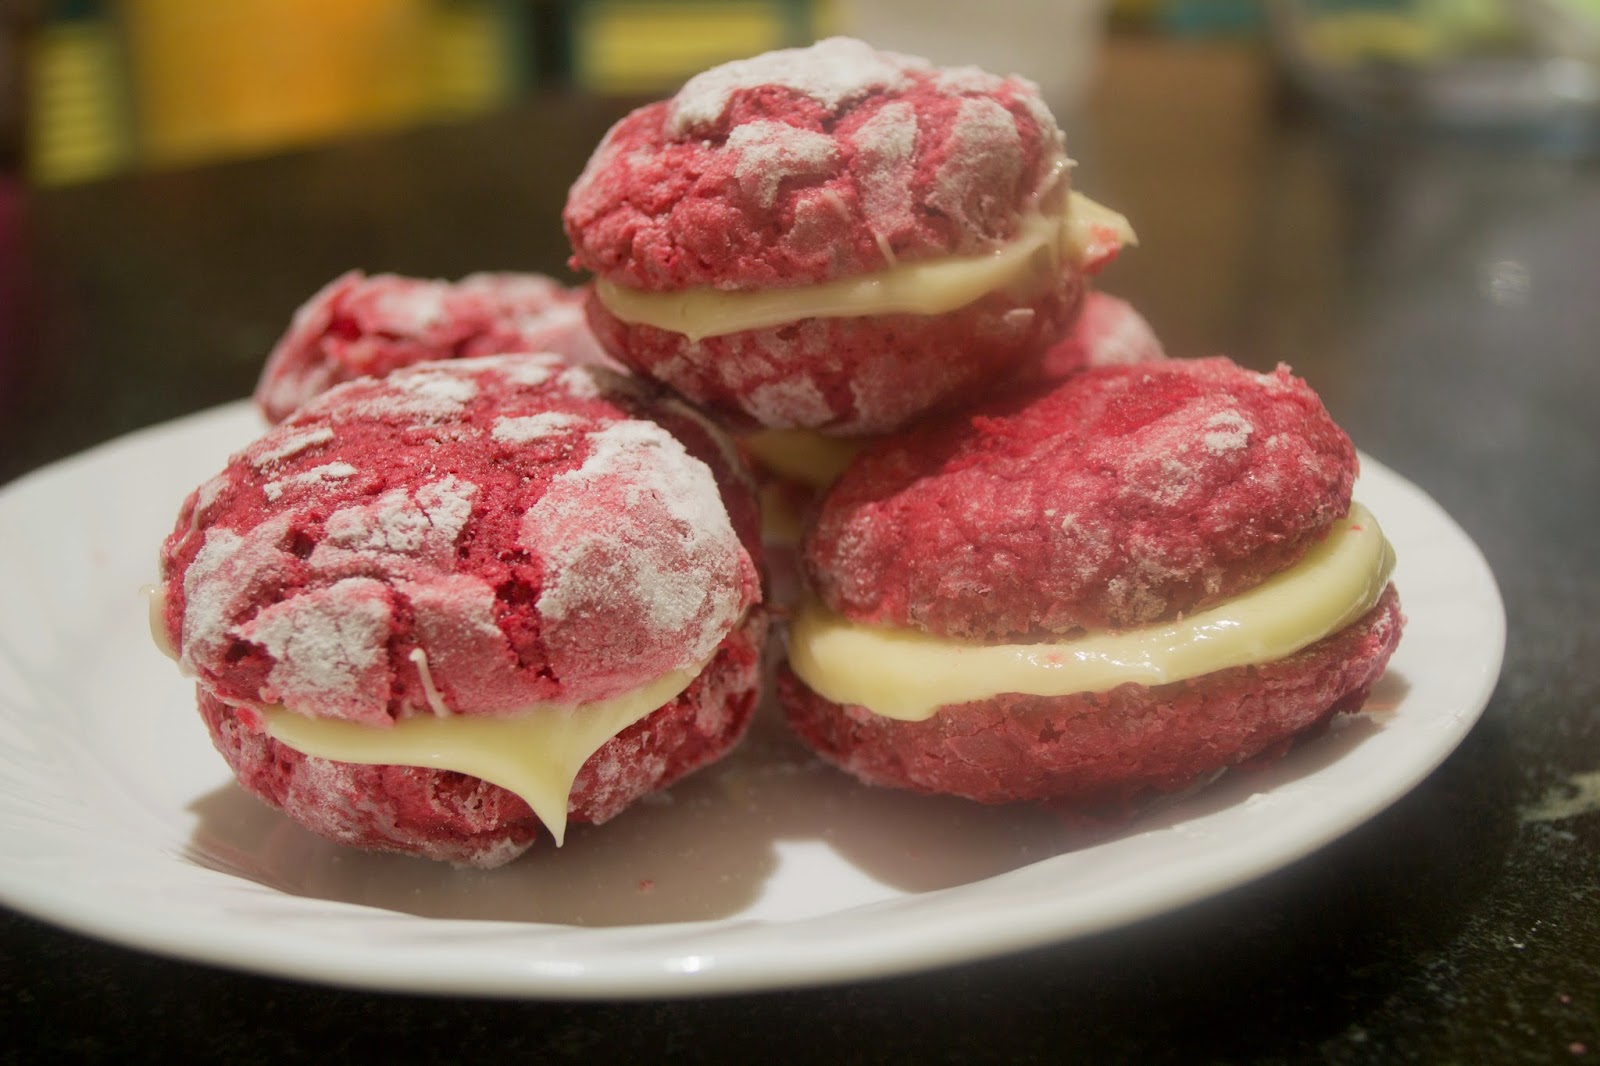
Red Velvet Crinkle Sandwich

Rose Cookie Sandwich

Monday, January 19, 2015

Fluffy Strawberry Buttercream Frosting

I just realized that my blog is called "frost and serve", yet I haven't posted a recipe on frosting or icing yet.


My love for this frosting was renewed when my best friend became obsessed with it after she tasted the Hello Kitty fondant cake I made for my 7 year old cousin. It was a simple chocolate cake - which I make for almost 90% of the time. So to add a little special kick to it, I decided to use strawberry frosting instead of the traditional chocolate buttercream for filling the layers and crumb coating it.


Most of the strawberry frosted cakes or cupcakes I see use real strawberries. Sadly, it is not abundant from where I come from. :( This recipe is the perfect alternative for a fluffy frosting with the exact taste of strawberry. The color and aroma is deceiving; you'll really think that it's made from real strawberries! Every time I make this frosting, people who'll pass by the kitchen will ask "is that ice cream?" Every. Single. Time. That's how awesome it smells like. Wait until you taste it...


Fluffy Strawberry Frosting
Ingredients:
1 cup (2 sticks) butter (softened)
5-6 cups powdered sugar
2 tsp McCormick strawberry extract*
3 tbsp milk (or water)
dash of salt

Instructions:

  1. Cream together softened butter, strawberry extract, and salt. 
  2. Add in powdered sugar one cup at a time, alternating with milk when the frosting becomes hard to stir. 
  3. If  frosting is too thick, add in more milk until you reach desired consistency. 

Frosts one 2-layers 9" cake, plus more for decorating

Recipe adapted from iambaker.


*I use McCormick strawberry extract because it tints the frosting to pink even without using food coloring. If your brand of strawberry extract doesn't tint the frosting, add 2 drops of pink food coloring, or 1 drop of red food coloring. Add more until you reach desired tint.


The perfect part? You can pipe it! Let's be real here: you can't pipe frosting with real fruit bits because it'll just clog the piping tip. But with this recipe, you'll be more flexible in designing your cake or cupcake!

Here are some ideas in which you can use this strawberry frosting:

Strawberry and Vanilla Buttercream Swirl Cupcake
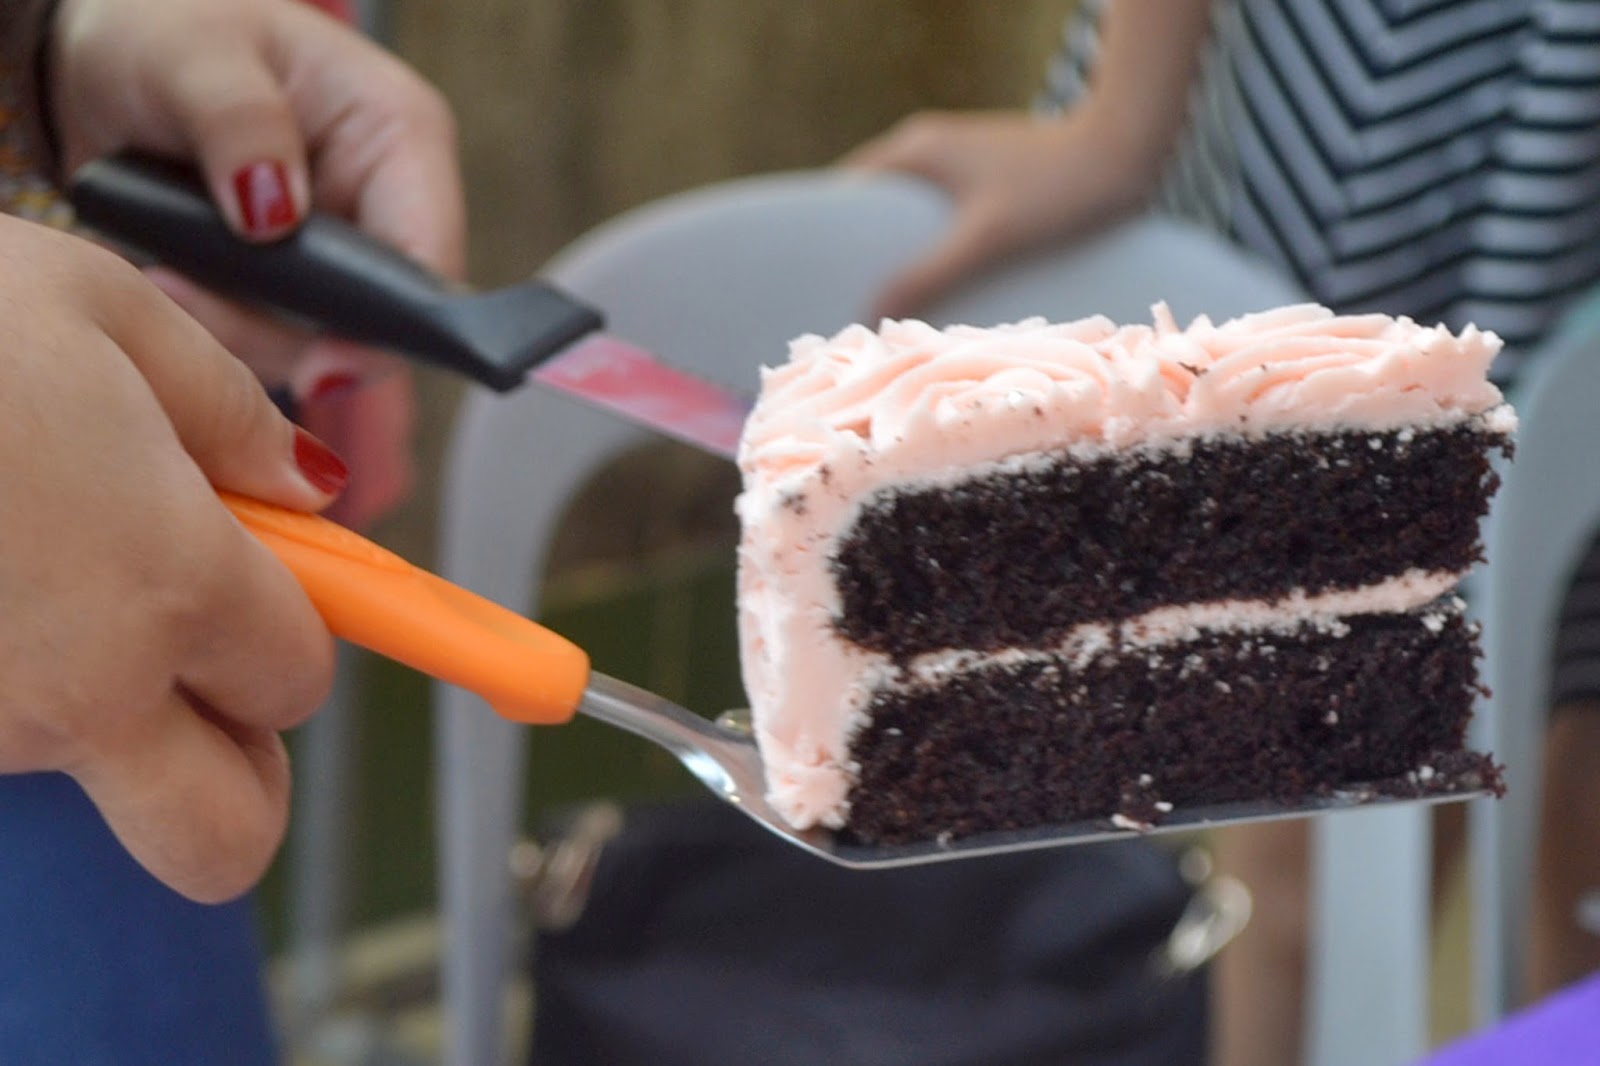
Strawberry Rose Cake (Slice shown above)

Sunday, January 4, 2015

THE Perfect Red Velvet Cupcake Recipe


For a long time, I have been wondering about the reason behind the Red Velvet hype. I mean, it’s just a red cupcake... right? With some research on the internet before I tried it (I just never had a chance to try it, okay?), it turns out to be simply a red tinted cupcake with a hint of chocolate. I tried to search if there’s something more special about it, but there’s nothing more to it.


Oh wait, there’s this huge factor: the cream cheese frosting. I wasn’t familiar about it before (not a fan of the cream cheese spread before), and I was surely not aware that it could be a frosting, but it’s definitely a thing now.

Now I get why people are obsessed over it: the vibrant red cake is definitely attracting and one of a kind. It’s not that sweet as chocolate cupcakes, but not as neutral as a yellow or vanilla cupcake (don’t get me wrong, I still love all those flavors!). And the star: the cream cheese frosting. It’s not too sweet, which is why I recommend it to relatives who want me to bake cupcakes for them. Also, the slightly sour taste that contradicts the sweetness plays so amazingly inside your mouth. Whoa, did I just explain a cupcake in a poetic way? I think I did. 

And after testing 3 different recipes, I present to you: the perfected version of the red velvet cupcake!


THE Perfect Red Velvet Cupcake
Ingredients:
2 1/2 cups flour
1 1/2 cups sugar
1 tsp cocoa powder
1 tsp baking soda
1 tsp salt
1 cup buttermilk
1 1/2 cup vegetable oil
2 pcs eggs
1 bottle (20mL) red food coloring*
1 tsp white vinegar
1 tsp vanilla extract

Instructions:
  1. Preheat oven to 175ยบC
  2. In a medium bowl, whisk flour, sugar, cocoa, baking soda, and salt.
  3. In a large bowl, add buttermilk, oil, eggs, food coloring, vinegar, and vanilla. Beat until well blended.
  4. Slowly beat in flour mixture until blended.
  5. Fill cupcake liners until 2/3 full.
  6. Bake 20-22 minutes; remove from pan and cool on rack.
Makes approximately 20-24 cupcakes.

Recipe adapted from Food Network.

*The important thing about a red velvet cupcake is it’s color – it must be red. At first, this is hard to achieve... believe me. Sometimes, it turns out pink or pinkish brown. Other times, the hue is so deep, it's like brick red already. The trick here is to use the whole bottle (20mL) of red food coloring. I know, it seems to be a lot. But that’s how you achieve the perfect red color. Also, it depends on the brand of food coloring you use. I use McCormick – tried and tested, my friend. Others say using a red gel food coloring also works nicely since you’ll need less amounts of it to achieve a perfect red tint. I haven’t tried this one yet, but maybe I’ll do when I find a good brand. I tried using Ferna Gel Food Coloring, but it’s really disappointing. You need a whole lot of it to achieve your desired color! Also, their packaging is not good since it creates a mess after your first use.


I hope you’ll also try this! I have made this repeatedly and it never failed to give me joy after each batch – even when I made 75 pieces of it in just one afternoon (believe me, it was exhausting)!